Struggling with uneven foundation or patchy eyeshadow? The problem might not be your products—it could be your brushes.
Choosing the right makeup brush can completely change your beauty routine. Each brush has a purpose, a technique, and a personality of its own. And when used right, they help you blend, buff, contour, and highlight like a true artist.
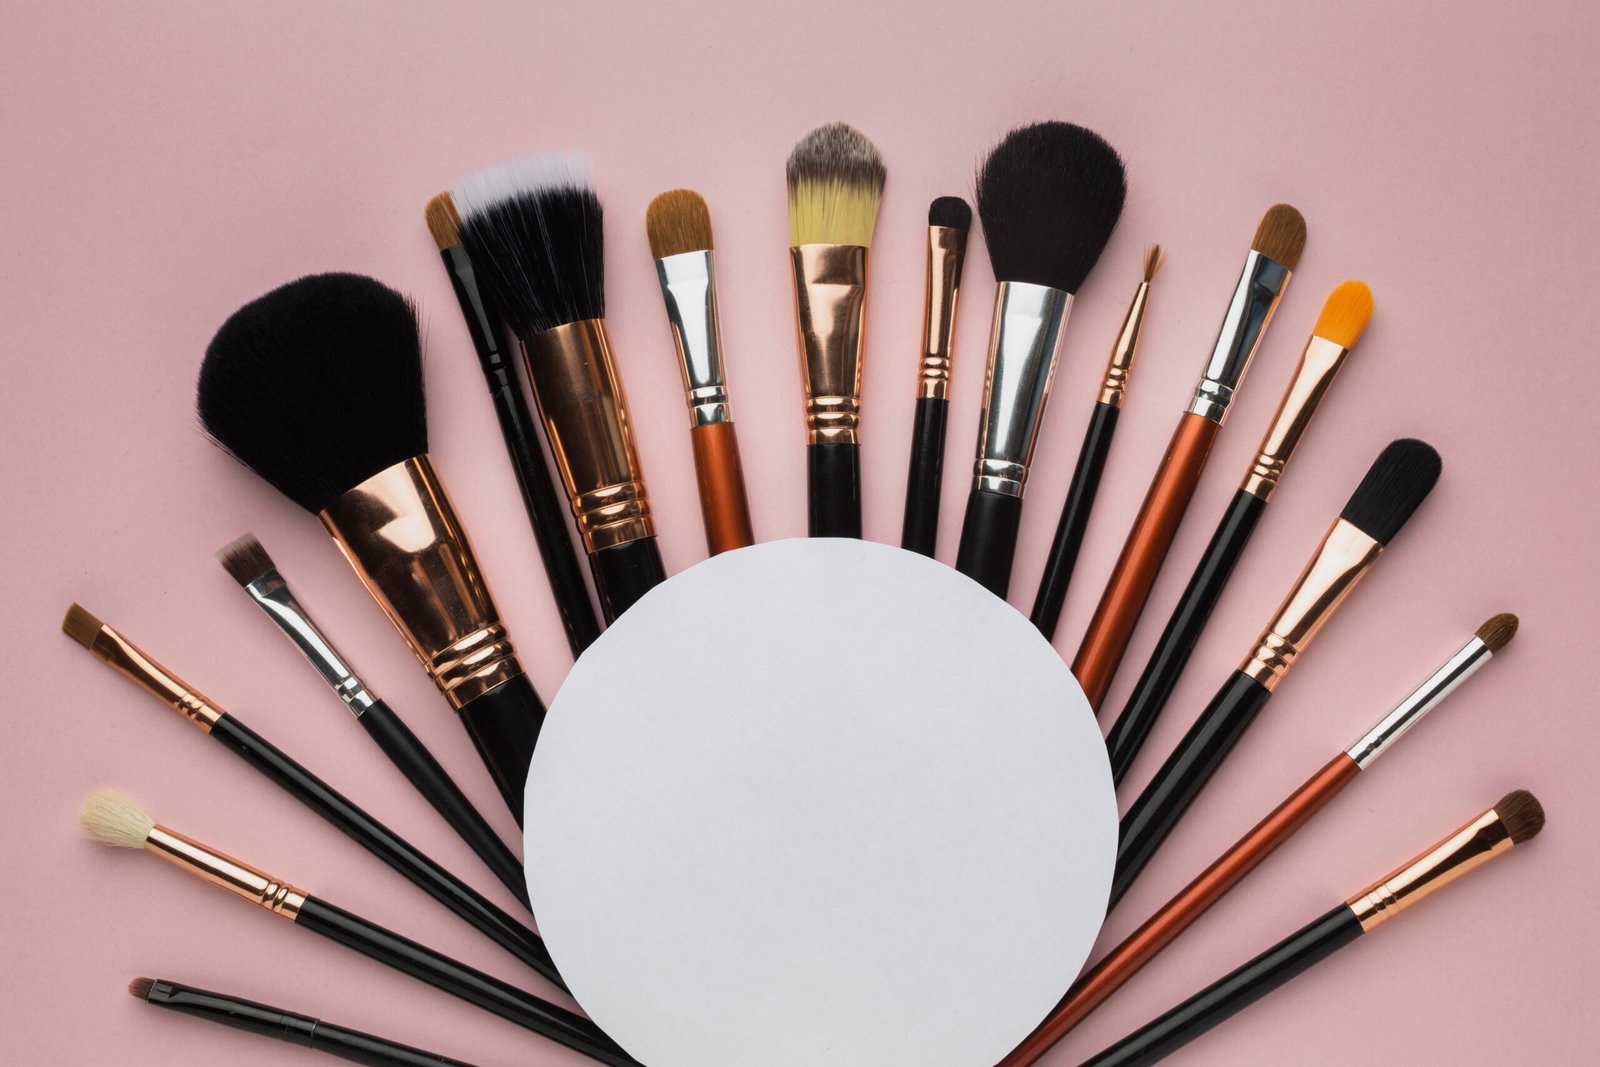
Let’s talk about the 13 makeup brushes you didn’t know you needed—and how to use them like a pro.
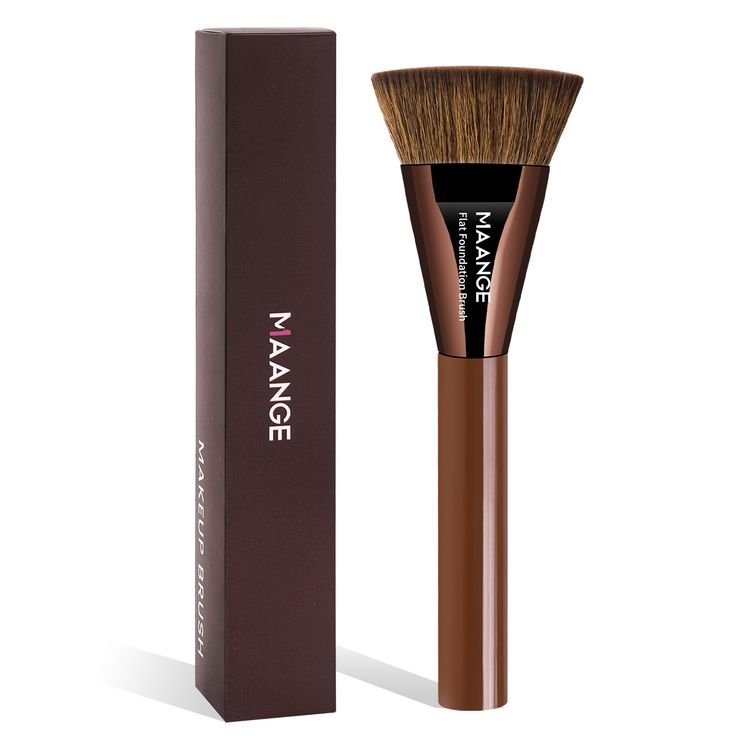
1. Flat Foundation Brush
Ever wonder why your foundation looks streaky?
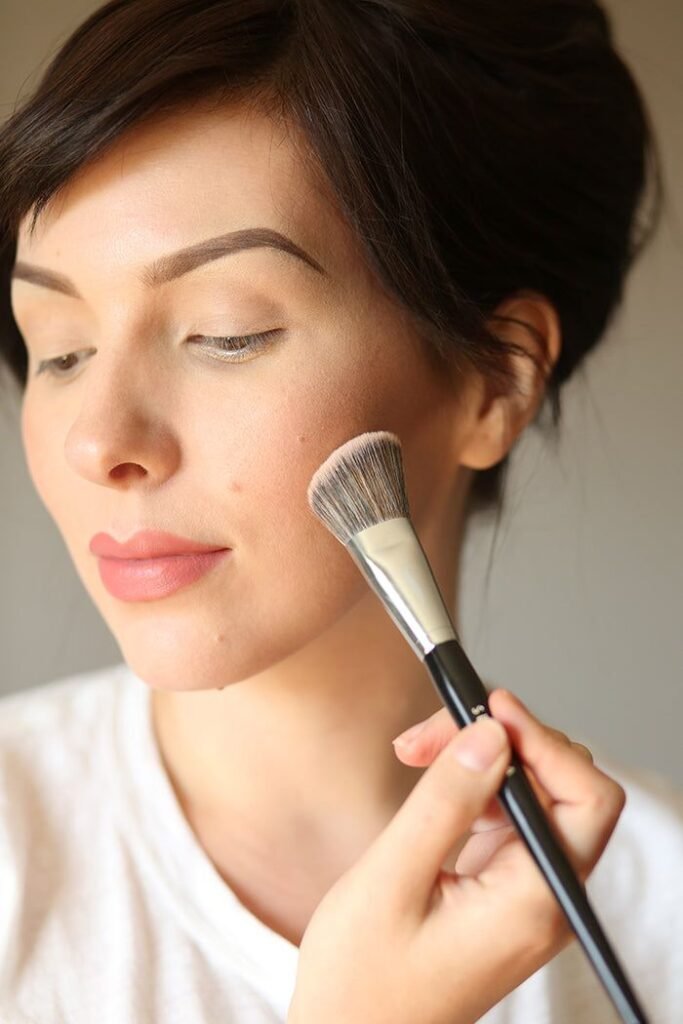
A flat foundation brush helps you apply liquid or cream foundation smoothly. Its dense, paddle-like shape spreads the product evenly across your face without absorbing too much. Start from the center and blend outward for the best result.
Pro Tip: Use downward strokes to avoid emphasizing peach fuzz.
2. Stippling Brush
Looking for that airbrushed finish?
A stippling brush features dual-fiber bristles that pick up the right amount of product. Use a gentle tapping motion (stippling) instead of dragging to create a flawless base.
This brush works beautifully with liquid or cream products, especially when you want light coverage that looks skin-like.
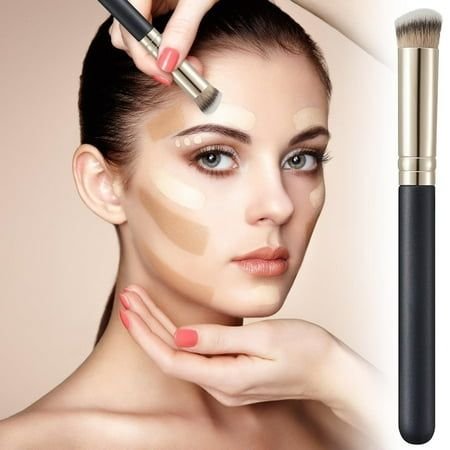
3. Kabuki Brush
Want full coverage without caking up?
Kabuki brushes are short, fluffy, and round. They’re perfect for applying powder foundation or setting powder evenly. The dense bristles help buff the product into your skin, creating a smooth, photo-ready finish.
Plus, they’re compact enough to toss in your bag for quick touch-ups.

4. Concealer Brush
Tired of using your fingers for concealer?
A small, flat concealer brush can give you precision and control, especially around the eyes and nose. It helps press the product into the skin, hiding blemishes and brightening dark circles.
You can also use it to clean up the edges of your lipstick or eyeliner for that crisp look.
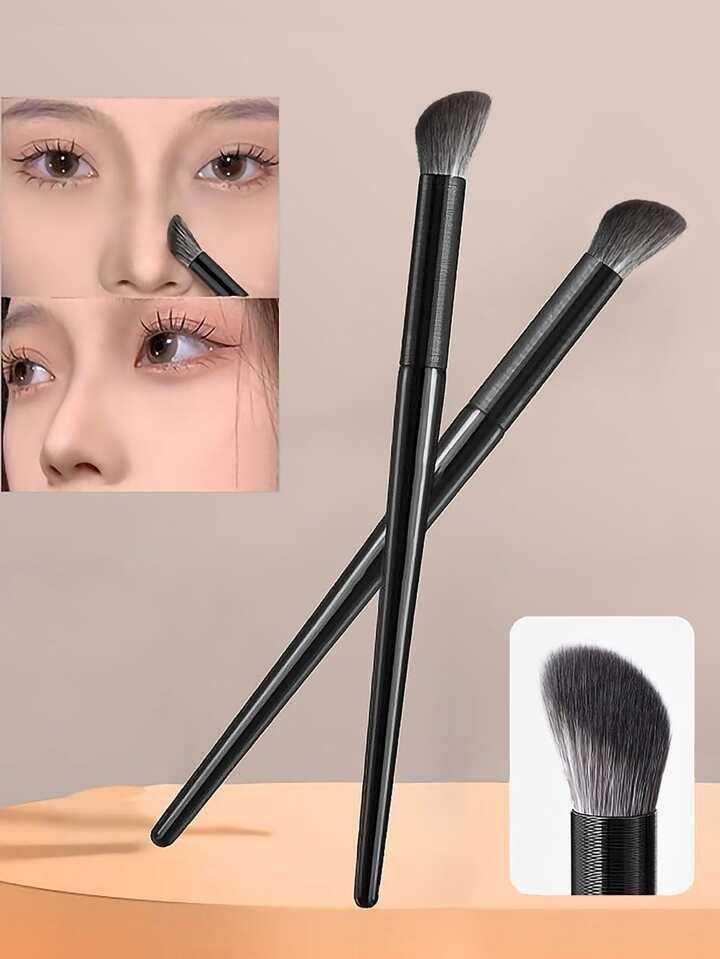
5. Angled Contour Brush
Want cheekbones that pop?
The angled contour brush is designed to fit into the hollows of your cheeks and around your jawline. Use it with a matte bronzer or contour powder to sculpt your face.
The angle gives you natural definition without harsh lines, especially when you blend upward.
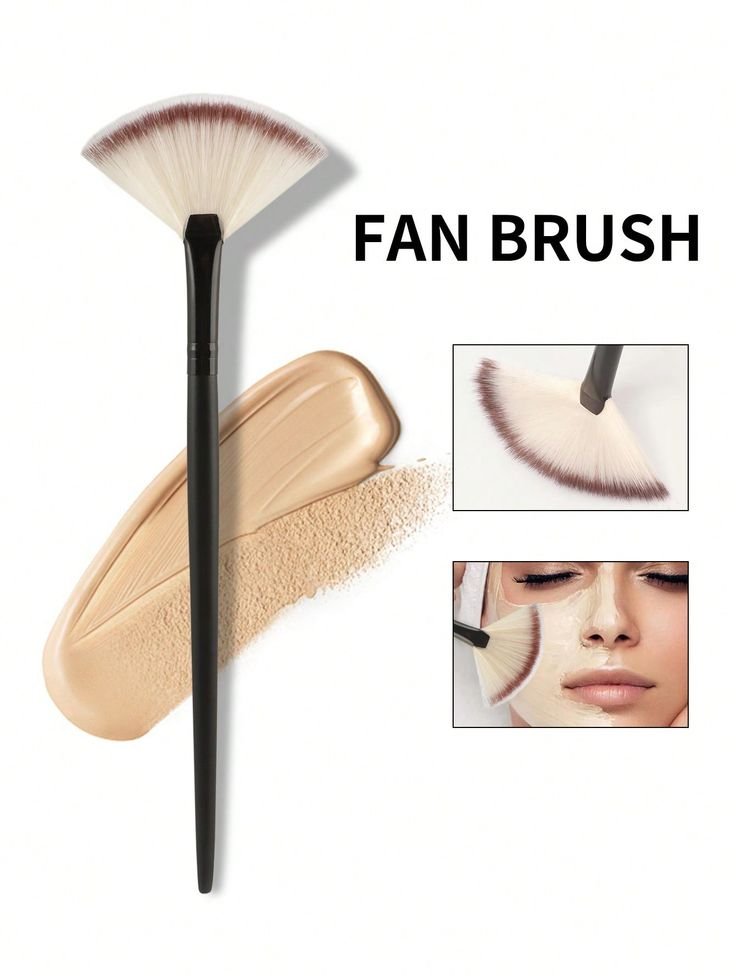
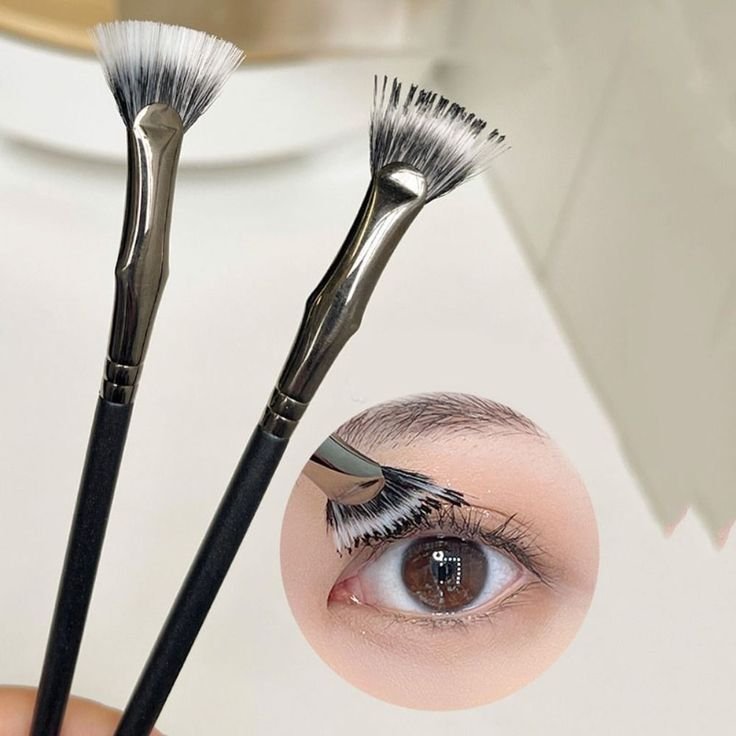
6. Fan Brush
Not sure how to apply highlighter?
A fan brush helps you sweep on just the right amount. Its delicate shape spreads product lightly across cheekbones, down the nose, and on the cupid’s bow.
It’s also great for brushing away eyeshadow fallout without disturbing the rest of your makeup.
7. Blush Brush
Can blush look natural? Absolutely!
Use a soft, rounded blush brush to sweep color onto the apples of your cheeks. Tap off the excess and blend outward and slightly upward. This gives your face a lifted and healthy glow.
Choose a brush with flexible bristles so you can build color gradually.

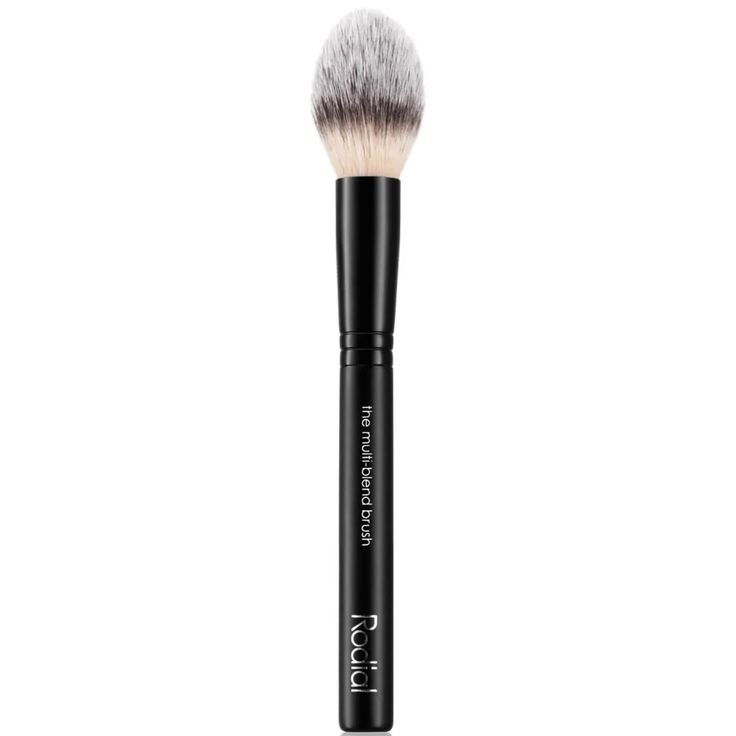
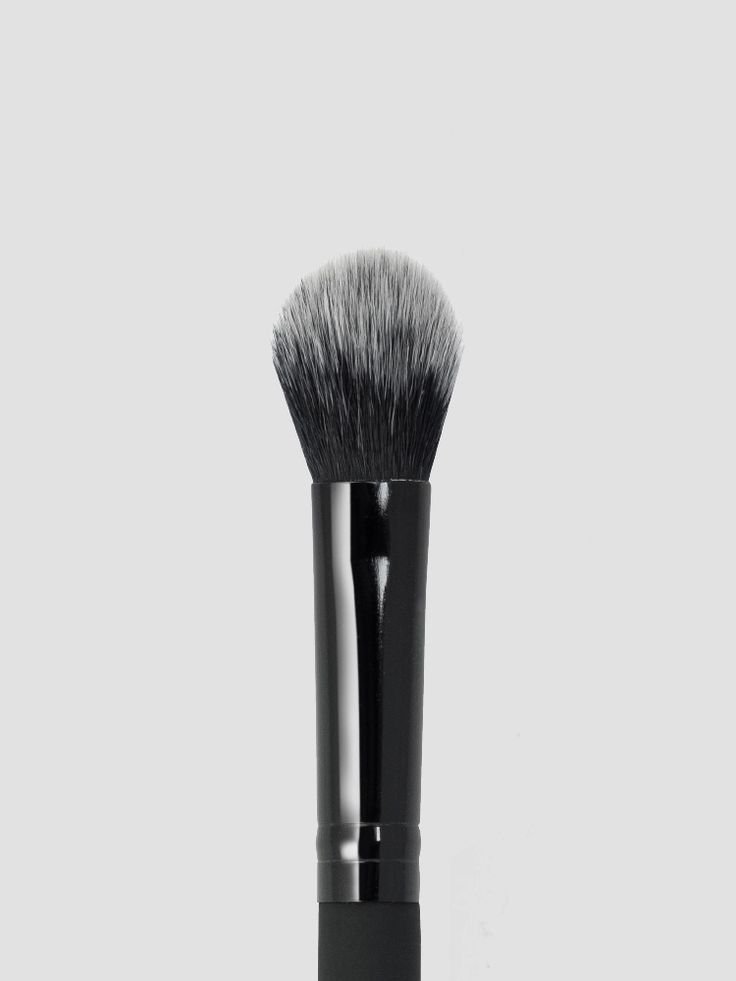
8. Tapered Highlight Brush
Highlighter too intense?
A tapered highlight brush gives you control over shimmer placement. Unlike a fan brush, this one lets you focus the glow exactly where you want it.
Its pointed tip is also ideal for highlighting the inner corners of your eyes or brow bone.
9. Eyeshadow Shader Brush
Want your eyeshadow to really pop?
This brush is flat and firm, making it ideal for packing color onto your lids. Press pigment onto the lid instead of sweeping it across, and you’ll see better color payoff.
Try it with shimmer shades to really make them stand out.
10. Blending Brush
Are harsh eyeshadow lines ruining your look?
Use a fluffy blending brush to soften the edges. Windshield-wiper motions work best in the crease to blend shadows together seamlessly.
This brush is essential for a well-blended smokey eye or everyday neutral look.
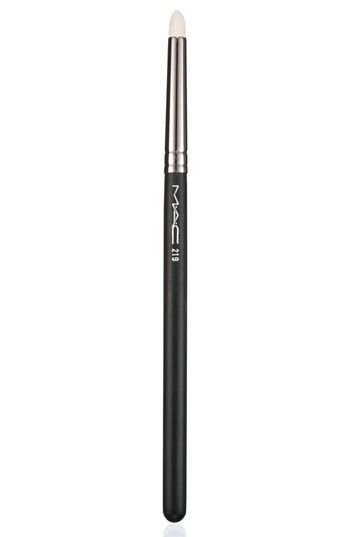
11. Pencil Brush
Need to smoke out your lash line?
A pencil brush gives you precision in tight areas. It’s great for applying eyeshadow close to the lash line or in the inner corners.
Use it to smudge eyeliner or add detail to your eye look without a mess.
12. Eyebrow Brush (Angled + Spoolie)
Want natural-looking brows?
The angled side of the brush is perfect for applying brow powder or pomade. Use short strokes to mimic hair. Then, flip to the spoolie end to blend and shape.
This brush duo gives you polished, defined brows without going overboard.

13. Lip Brush
Lipstick bleeding outside your lines?
A lip brush allows you to precisely shape your lips and fill them in smoothly. Use it with creamy lipsticks or even liquid ones for more control.
It’s also great for mixing custom lip shades directly on your brush.

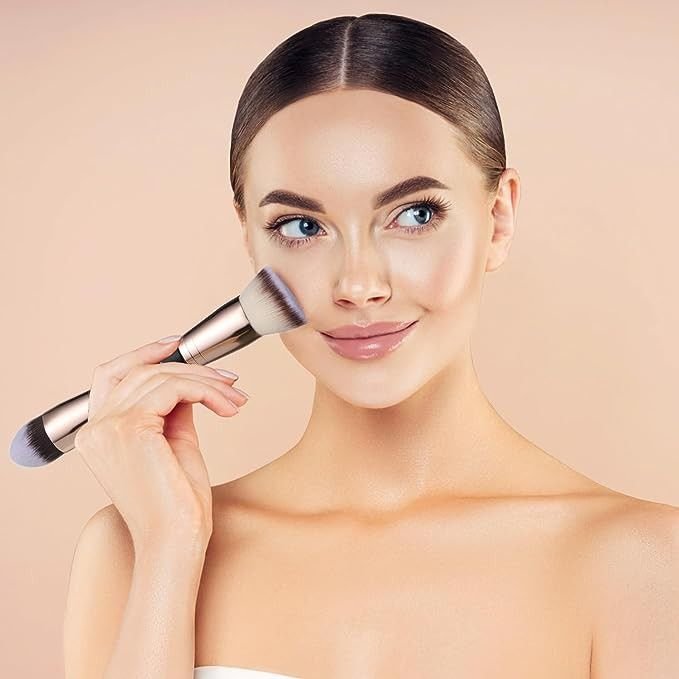
14. Flat Top Buffing Brush
Want a flawless, even base in less time?
A flat top buffing brush is perfect for blending liquid or cream foundation seamlessly. Its dense, flat surface buffs product into the skin, giving you a smooth, airbrushed effect.
Use circular motions for best results—it’s especially great for buildable coverage.
15. Detail Brush
Struggling with small areas or precise highlighting?
A detail brush is small, tapered, and ideal for targeted tasks—like adding shimmer to your inner eye corners or highlighting the brow bone.
It’s also great for precise concealer application on tiny blemishes or discoloration.
16. Angled Blush Brush
Want more control over your blush placement?
The angled blush brush hugs your cheekbones perfectly, letting you apply and blend color with ease.
Its shape helps lift the face and define the cheeks, especially when using sculpting blush techniques.
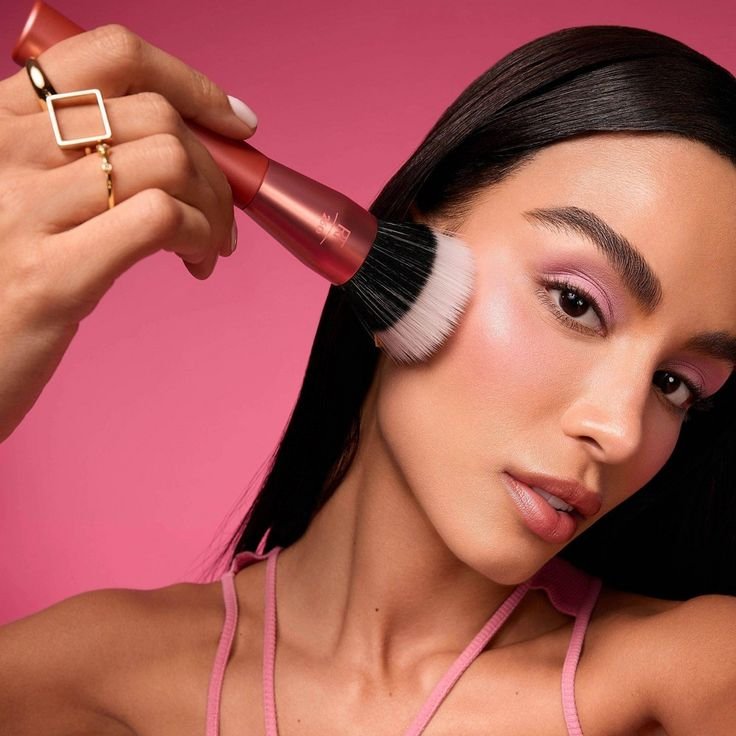
17. Domed Powder Brush
Need an all-over setting tool?
A domed powder brush is fluffy and rounded—perfect for sweeping setting powder or bronzer across your face.
It distributes product evenly, blurs fine lines, and ensures nothing looks cakey.
18. Smudge Brush
Love a smokey, sultry eye?
The smudge brush is short, dense, and ideal for softening eyeliner or blending shadow along the lash line.
It’s a go-to for creating that lived-in, smudged glam effect without over-blending.
19. Cut Crease Brush
Trying to master bold eye looks?
A cut crease brush has a firm, curved edge that helps you carve out sharp crease lines with concealer or shadow.
It gives precision and drama to advanced eye techniques like halo eyes or double cuts.
20. Mascara Fan Brush
Want defined lower lashes without clumps?
This tiny fan-shaped brush lets you apply mascara from a pot directly to the lashes, separating each one for a clean finish.
It’s especially handy for lower lashes, falsie blending, or colored mascara looks.
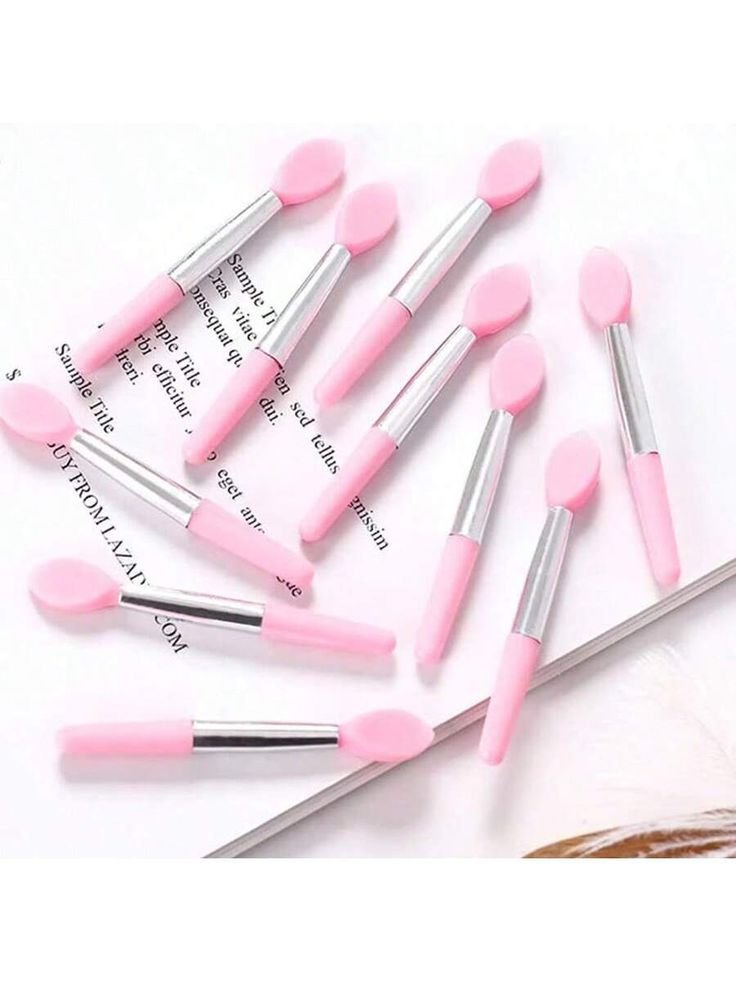
21. Silicone Applicator Brush
Love glitter but hate the mess?
A silicone applicator is ideal for pressing on glitter, foil shadows, or metallic pigments.
It grabs product without fallout and gives intense payoff, especially when paired with glitter glue.
Bonus: Brush Maintenance Tips
Dirty brushes can cause breakouts and ruin your makeup. Here’s how to care for them:
- Wash brushes weekly with gentle shampoo or brush cleaner.
- Let them air dry with bristles hanging off the edge of a table.
- Never soak the entire brush to protect the glue inside the handle.
Proper maintenance not only extends your brush life but also keeps your skin happy.
Final Thoughts
Makeup brushes aren’t just tools—they’re magic wands in the right hands. Whether you’re a beginner or a beauty lover looking to upgrade your routine, understanding your brushes is key.
Now that you know what each brush does, go ahead and experiment. Mix techniques. Try new looks. And most importantly, have fun with it.
Because the right brush doesn’t just enhance your makeup—it elevates your confidence.