A beauty blender might look simple, but it’s a serious game-changer in your makeup kit. Most of us use it for blending foundation, and that’s great—but this little sponge can do so much more.
From skincare hacks to contouring perfection, a beauty blender is way more versatile than you think. So, if yours has been collecting dust (or just sticking to basics), it’s time to give it the spotlight it deserves.
Let’s dive into 22 creative, effective, and downright genius ways to use your beauty blender.
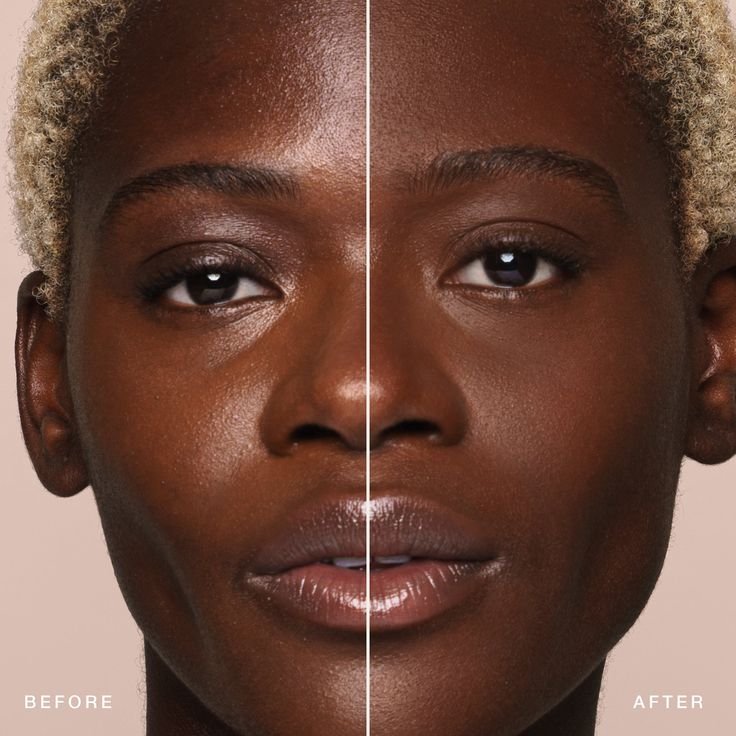
1. Foundation Blending Like a Pro
Want that natural, skin-like finish?
Dampen your blender, squeeze out the excess, and bounce foundation across your face. The sponge presses product in without streaks, creating a flawless base.
Avoid dragging; bouncing gives better coverage and maintains skin texture.
2. Concealer Precision
Can’t get your concealer to melt into your skin?
Use the pointed tip to reach under your eyes and around your nose. This allows for accurate application and soft blending, especially on delicate areas.
The result? Brighter eyes without visible lines.
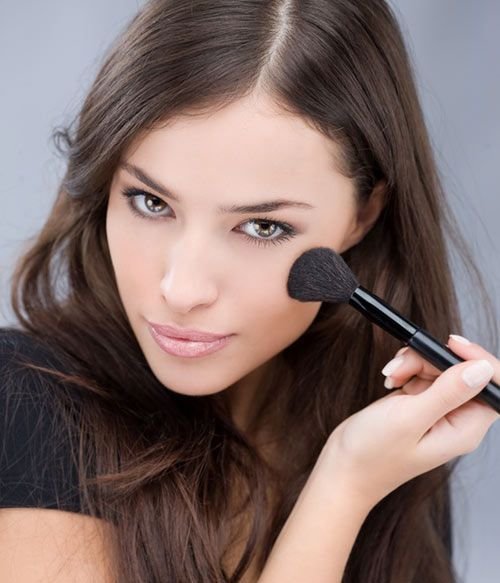
3. Contouring Mastery
Love sculpted cheekbones?
Apply cream or liquid contour directly to your face, then blend using the angled side of the sponge. Tap, don’t swipe. This gives definition without harsh lines.
The dampness of the sponge helps sheer out the product for a natural shadow effect.
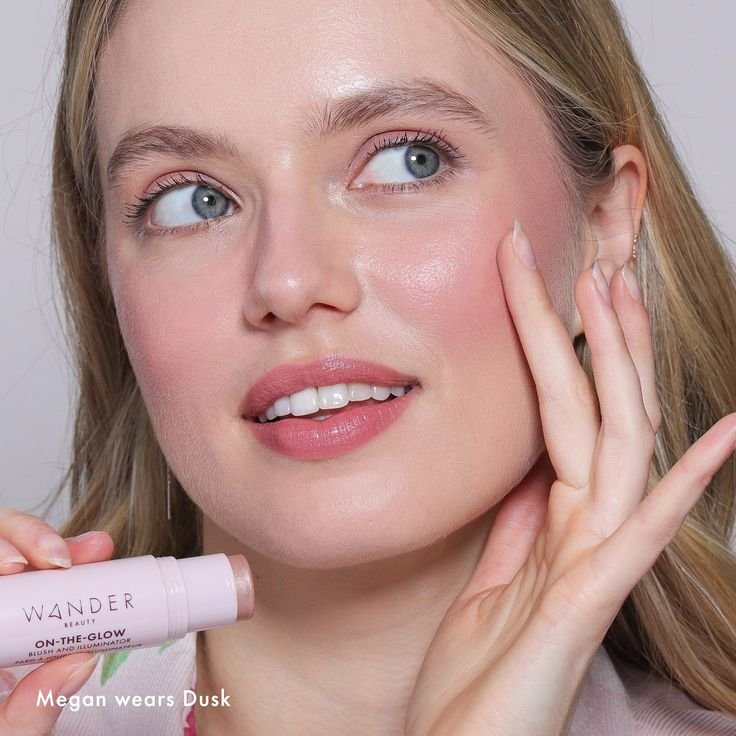
4. Blush Blending
Cream blush can be tricky—too much and you look like a doll.
Tap the blender into the cream product and bounce it onto the apples of your cheeks. It allows for better control and a healthy flush.
Use the clean end of the sponge to diffuse the color if needed.
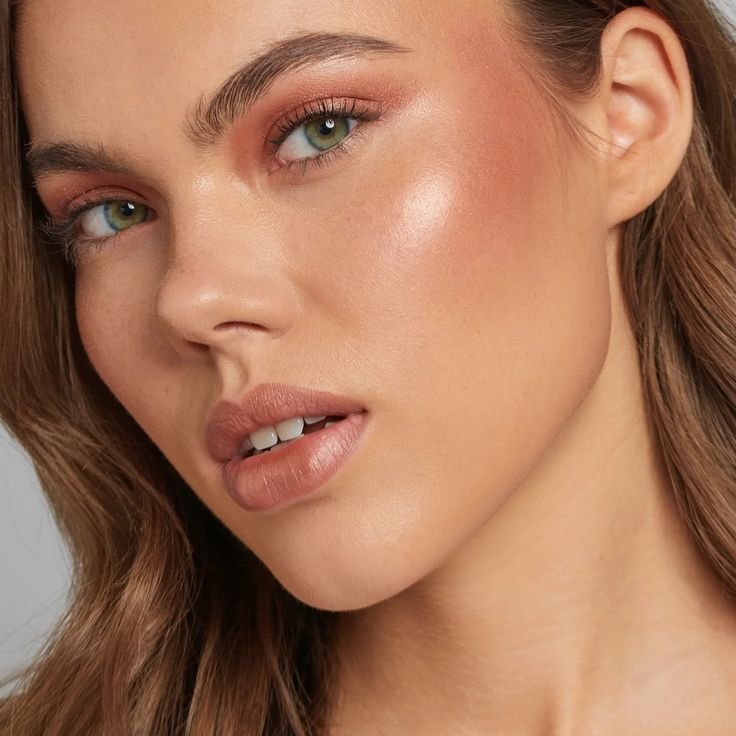
5. Highlighter Perfection
Trying to avoid a blinding stripe?
Use the small tip to dab cream or liquid highlighter on the tops of your cheekbones, brow bone, and cupid’s bow. The sponge blends it seamlessly into your foundation.
It creates a lit-from-within glow instead of a glittery mess.
6. Setting with Powder
Think blenders are only for creams? Think again.
Dip a dry sponge into loose setting powder and press it into your skin. Focus on oily zones or areas prone to creasing.
This technique keeps makeup locked in without disturbing your base.
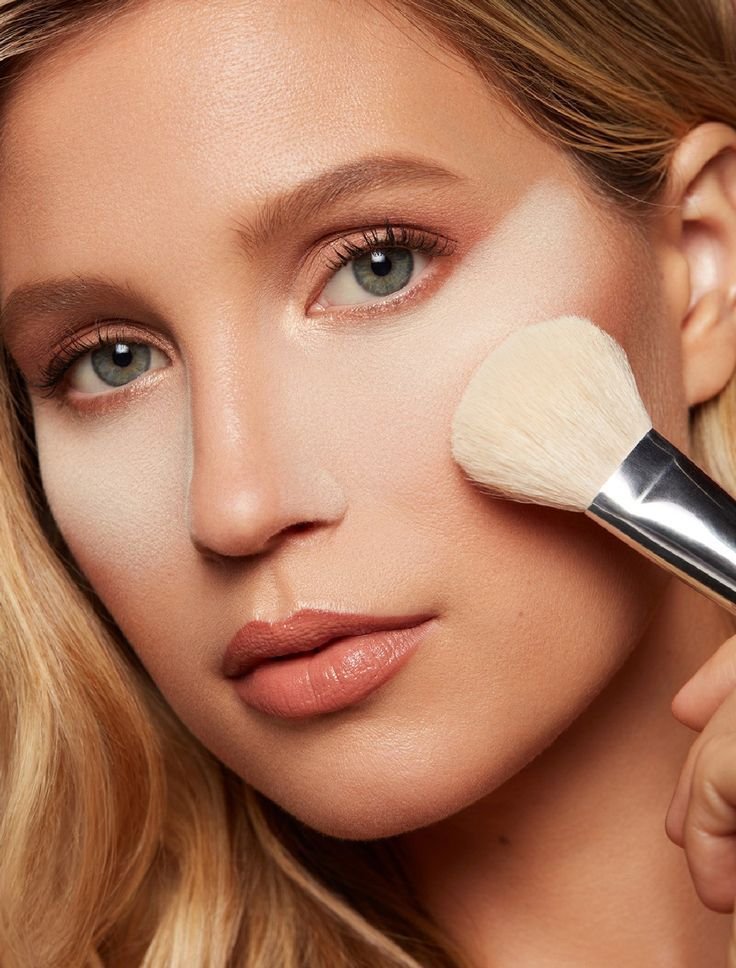
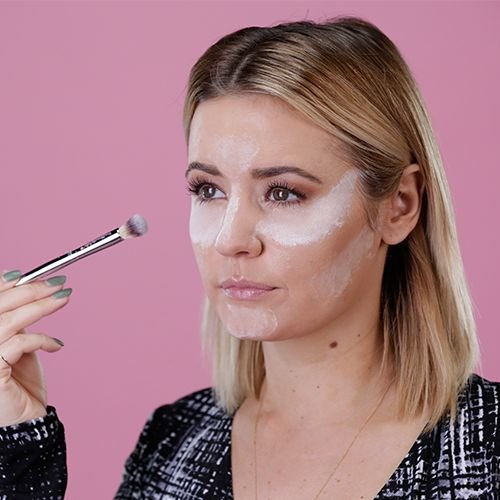
7. Baking Your Face
Want ultra-smooth under-eyes or sculpted cheekbones?
Apply a thick layer of powder using your blender over concealed areas. Let it sit (aka “bake”) for a few minutes, then dust off.
The heat from your skin sets the concealer, and the powder absorbs excess oil.
8. Applying Primer
Yes, your blender can go before foundation.
Dab your favorite primer onto the skin using the sponge. This evenly distributes the product and prevents your hands from transferring oil.
It also helps fill in pores and smooth texture for a better base.
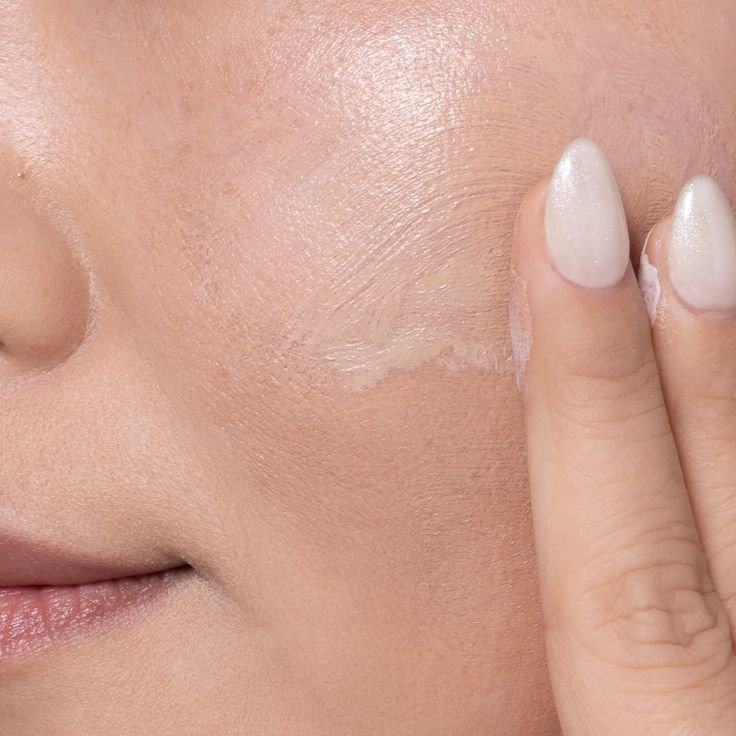
9. Skincare Boost
Ever thought of using your blender for skincare?
Use it to apply moisturizer or serum—especially in the morning. The tapping motion stimulates blood flow and helps products absorb better.
Plus, it saves you from tugging at your skin.

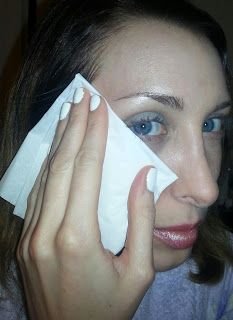
10. Toning Without Cotton Pads
Want to reduce waste?
Use a clean, slightly damp blender to apply toner. It’s soft on the skin and great for evenly distributing product.
This works especially well for calming, hydrating toners.
11. Fixing Makeup Mistakes
Overdid your blush or contour?
Dab a clean part of the blender over the area to tone it down. It acts like a mini eraser without smearing your entire look.
Keep one blender dry just for this purpose.
12. Lipstick Blurring
Craving that soft, blurred lip trend?
Apply lipstick to the center of your lips and use the blender to diffuse the edges. This creates a pouty, just-bitten effect.
It’s also a great hack for when you forget your lip brush.
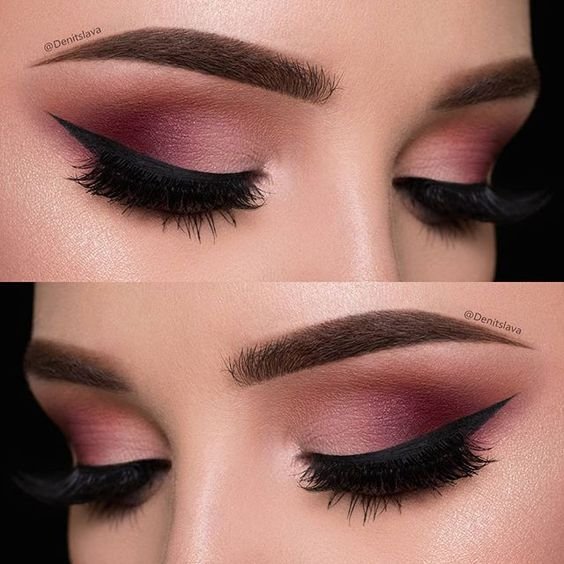
13. Ombre Eyeshadow
Don’t have time for brushes?
Use the mini size of a blender to pat different shades across your eyelids. Dab the darkest shade on the outer corner, then use the clean side to blend toward the center.
This gives you a soft gradient eye look without much effort.
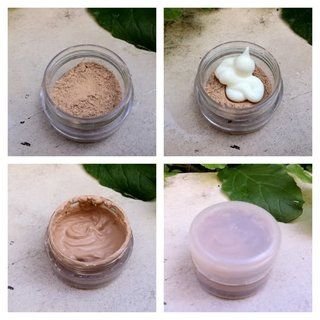
14. DIY BB Cream Blender
Want a BB cream look without actually using one?
Mix a pump of foundation with moisturizer on the back of your hand. Then use your blender to apply.
This gives a sheer, hydrated finish that’s perfect for everyday wear.
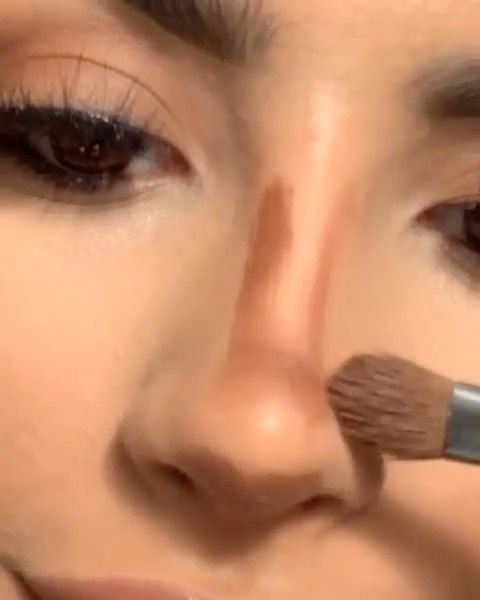
15. Nose Contour
Struggling to contour your nose without harsh lines?
Use the tip of the blender for precision, and the flat edge to blend. This helps sculpt your nose naturally without looking overdone.
Try a contour stick for cleaner lines.
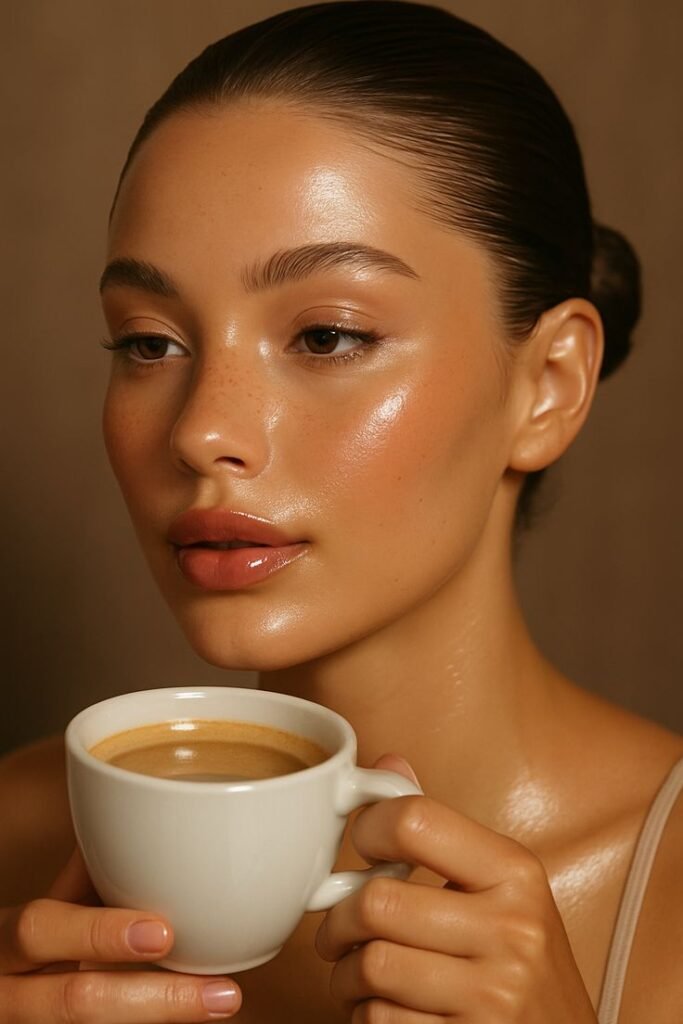
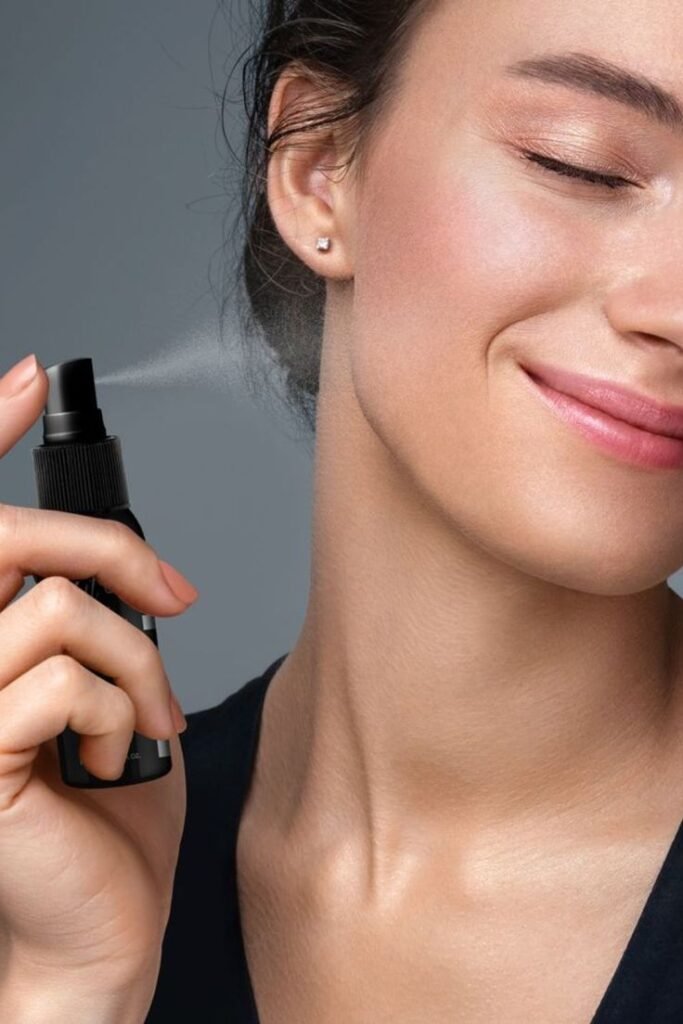
16. Dewy Finish Hack
Want your matte foundation to look more skin-like?
Spray your blender with a dewy setting spray, then bounce it over your face after applying foundation. It melds everything together and adds a glow.
Great for dry skin or dull days.
17. Applying Body Makeup
Got an event or photoshoot?
Use a larger blender to apply body foundation or shimmer to your neck, shoulders, or collarbones. It gives even coverage without streaks.
Perfect for weddings or glam nights.
18. Fixing Cakey Areas
Not loving your textured forehead or nose?
Lightly spray your blender with facial mist and bounce it over problem areas. This revives the makeup and smooths everything out.
No need to reapply foundation.
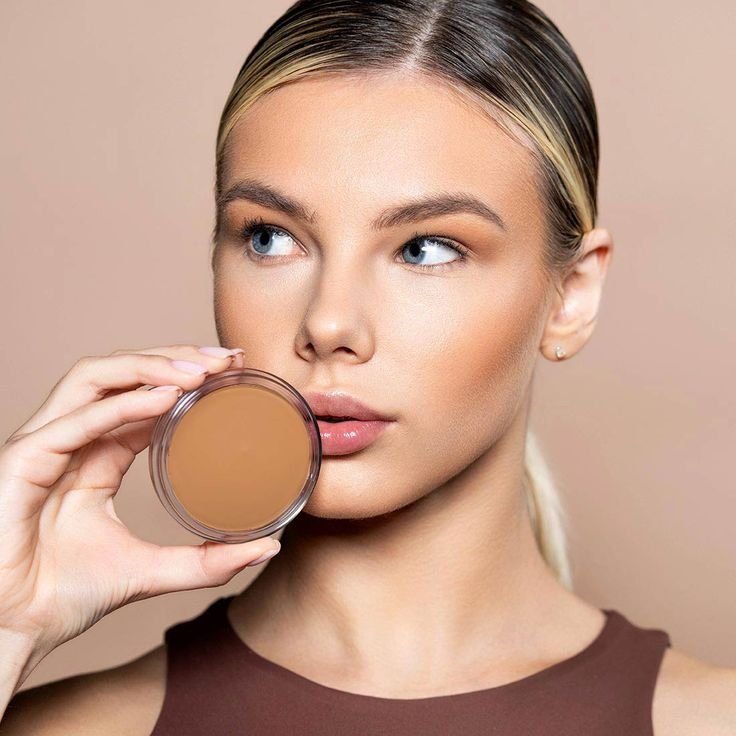
19. Cream Bronzer Blending
Powder bronzer can sometimes look patchy, right?
Try cream bronzer with your blender for a sun-kissed, skin-like glow. Use light layers and build gradually.
The sponge keeps it looking soft and natural.
20. Applying SPF Tinted Moisturizer
Want sun protection with a bit of tint?
Use your blender to apply SPF-infused tinted moisturizer. This gives better absorption and blends any white cast or pigment lines.
Always use a clean blender for SPF products.
21. Cleaning Up Eyeshadow Fallout
Eyeshadow fallout is the worst—we get it.
Use the tip of your blender to clean up under the eyes. It picks up excess product without spreading it further.
You can also sharpen your shadow edge by using a sponge dipped in setting powder.
22. Refreshing 3 PM Makeup
Tired of looking tired?
Dampen your blender slightly and bounce it across your face. It reactivates foundation, smooths creases, and revives dull areas.
You’ll look like you just applied your makeup.
Quick Table: Beauty Blender Uses at a Glance
| Purpose | Best Sponge Type | Tip |
|---|---|---|
| Foundation | Damp, classic shape | Bounce, don’t drag |
| Concealer | Small tip or mini | Focus on corners |
| Powder | Dry sponge | Press, don’t swipe |
| Cream Products | Damp sponge | Layer slowly |
| Skincare | Clean damp sponge | Pat gently |
| Touch-ups & Fixes | Clean or dry sponge | Use clean edge |
Final Thoughts
Beauty blenders are far from one-trick ponies. They can do so much more than blend foundation—you just need a little creativity.
So next time you pick yours up, think beyond the basics. Whether you’re applying skincare, fixing a makeup mishap, or creating an ombre lip, your sponge is the perfect sidekick.
And honestly? It might just be the most underrated tool in your kit.
Ready to bounce your way to better makeup days?