
Contouring isn’t just a trend—it’s a transformative technique that can redefine your features, boost your confidence, and create depth like no other makeup step.
But do you have to be a makeup artist to master it? Not at all. With the right tools, products, and creative tips, anyone can learn how to contour like a pro. The key is knowing which contouring style fits your face, mood, or occasion best.
In this post, we’ll explore 10 contouring makeup ideas that go beyond just cheekbones and noses. Each one has its own personality, purpose, and technique to bring out your best features.
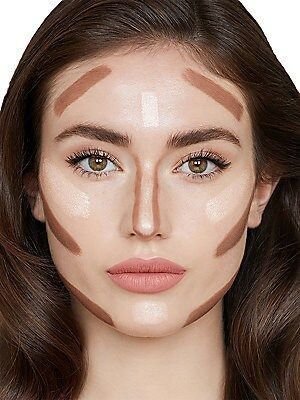
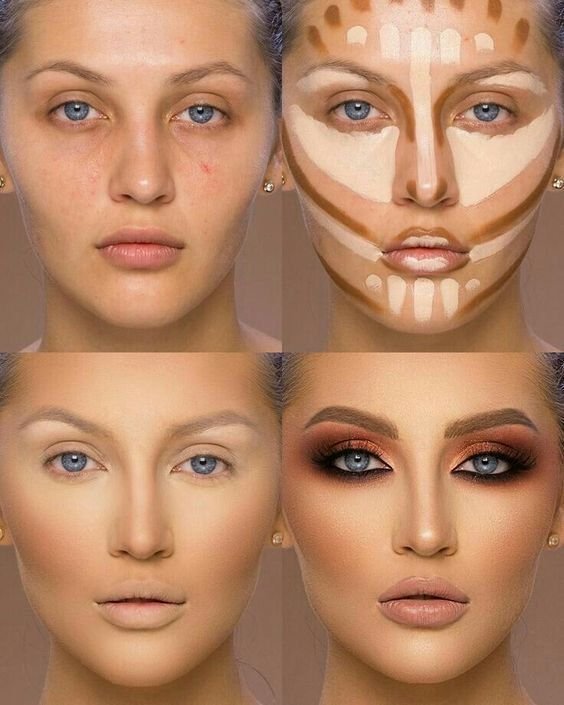
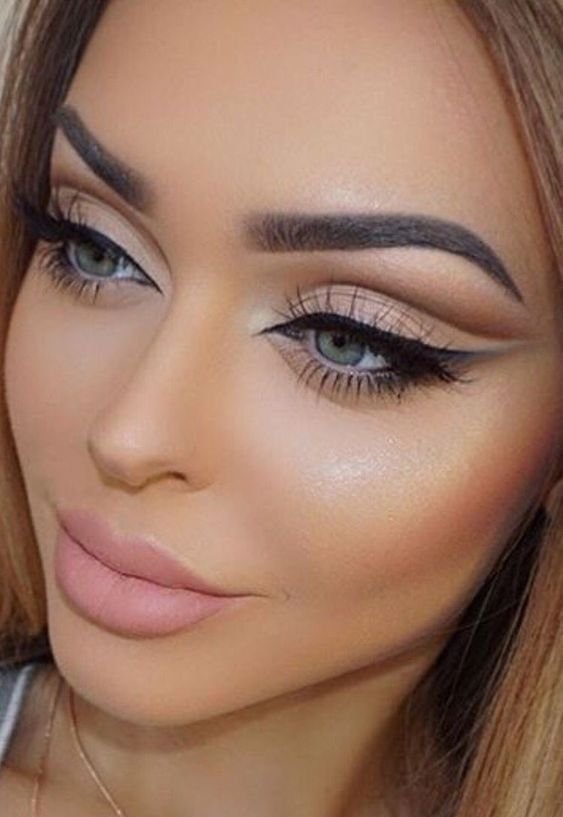
1. Classic Cheekbone Contour
Let’s start with the timeless classic.
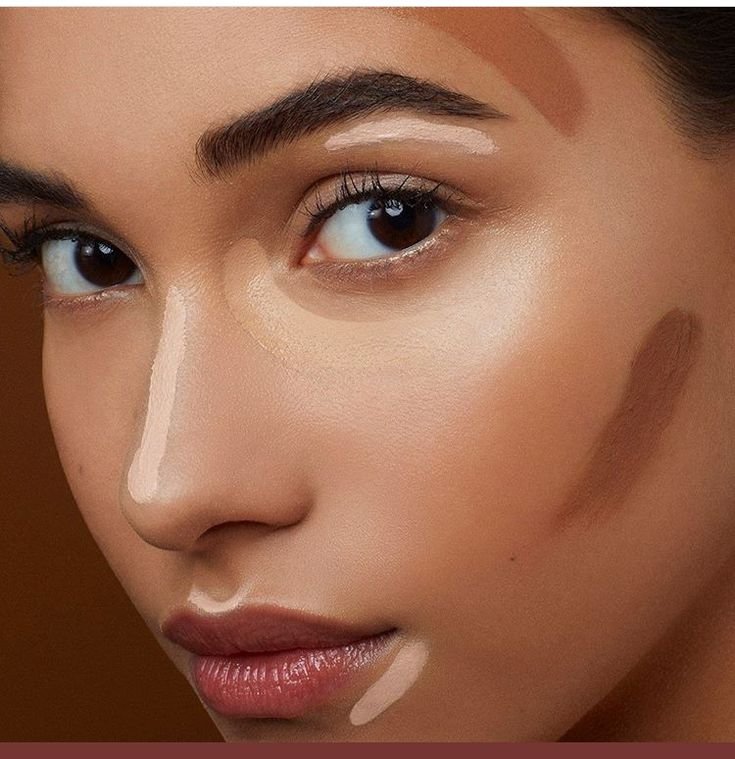
Sculpting your cheekbones creates instant definition. This contouring technique involves applying a cool-toned contour shade just below your cheekbone and blending it upward.
Pair it with a soft blush above the contour and a highlighter on the top for a lifted, radiant effect. Use a fluffy angled brush for the best blend.
2. Jawline Contouring
Want a more defined jaw without surgery?
Jawline contouring can sharpen and slim your face, giving you that chiseled look. Use a cream or powder two shades darker than your skin tone, and trace along the jawline and under the chin.
Blend it downward into the neck to avoid harsh lines. This trick is especially handy for selfies and special events.
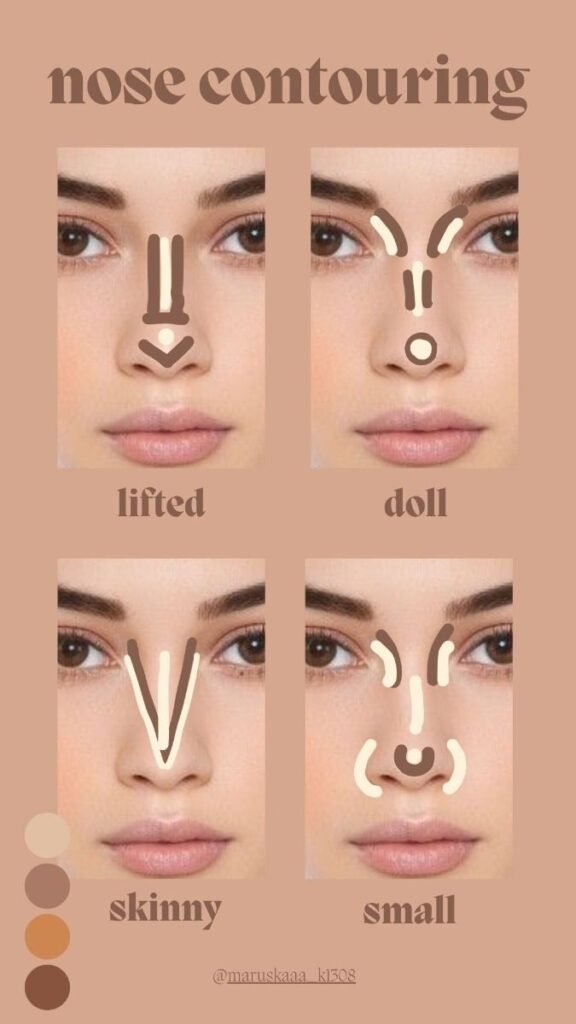
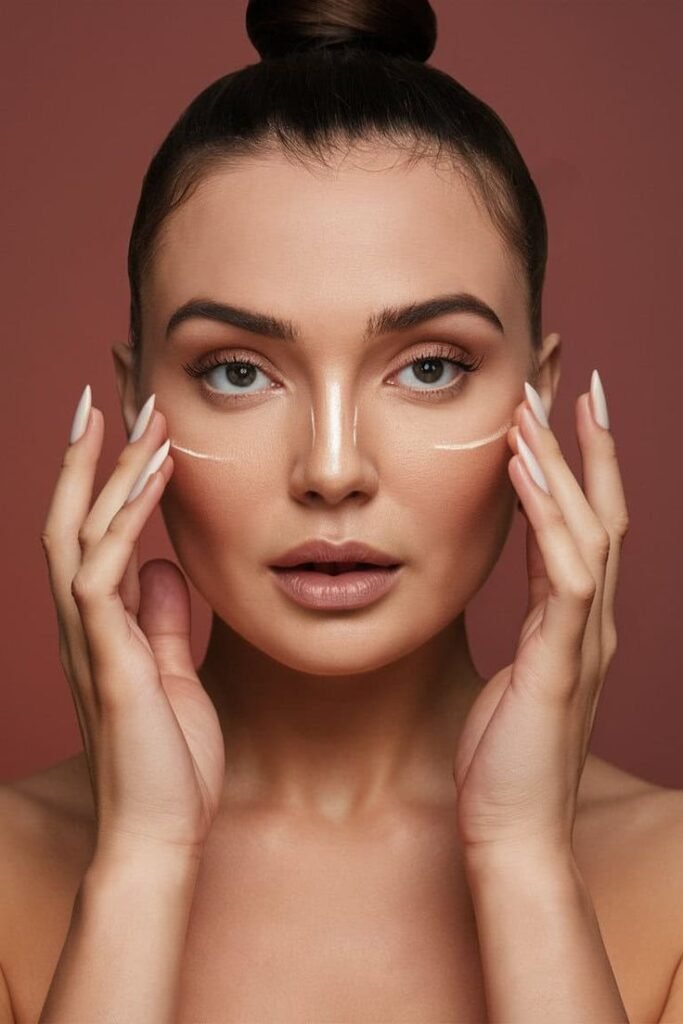
3. Nose Contouring Techniques
Looking to refine your nose shape?
Nose contouring can subtly change the appearance of your nose, whether you want it to look slimmer, shorter, or straighter. Use a small, precise brush to draw two contour lines along the sides of your nose.
Then highlight the center for a defined, symmetrical effect. Just make sure to blend well—sharp lines can ruin the illusion.
4. Forehead Shaping Contour
Does your forehead feel too prominent sometimes?
This technique is ideal for creating balance. Apply contour near the hairline and temples to bring depth and visually shorten the forehead.
Blend inward and downward toward the center of your forehead. Pair it with a radiant highlight in the middle for dimension.
5. Contour for Round Faces
Trying to elongate or slim a round face?
Focus your contour vertically—along the sides of the face and under the cheekbones. You can also add a bit of shading under the jawline and temples to create more angles.
Highlight the center of your forehead, chin, and under-eye area to bring structure and lift. Use cream products for a natural, skin-like finish.

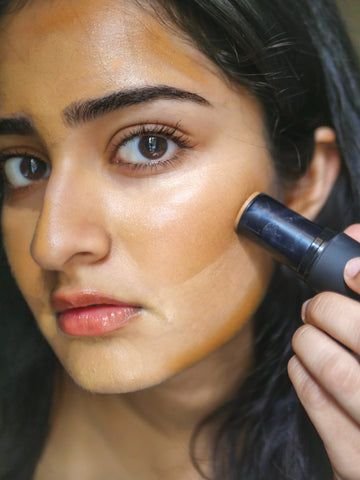
6. Contouring with Cream vs. Powder
Which product works better—cream or powder?
Cream contour offers a dewy, natural finish and is easier to blend on dry or mature skin. It’s great for beginners because it allows more control and buildability.
Powder contour gives a matte, defined finish and works well for oily skin or high-heat environments. Want the best of both worlds? Start with cream and set it with powder.
| Skin Type | Best Formula | Finish |
|---|---|---|
| Dry / Mature | Cream | Dewy/Natural |
| Oily | Powder | Matte/Defined |
| Normal / Combo | Both | Buildable |
7. Reverse Contouring
Looking for a technique that feels fresh?
Reverse contouring involves using a lighter shade (concealer or highlight) to carve out your face instead of dark contour. This brings more brightness and contrast to the face.
Apply concealer on the high points—under eyes, bridge of the nose, forehead, and chin—and blend outward. Then lightly apply bronzer only where needed.
8. Contouring for Photoshoots or Video
Need to look snatched on camera?
Go a bit bolder than usual. Cameras often wash out subtle makeup, so you’ll want to deepen your contour and highlight just a bit more.
Layer cream contour with powder for lasting definition, and sharpen edges like the jawline and nose. Use setting spray to lock it all in place.
9. Blush Contour or “Blontour”
Ever tried contouring with blush?
Blush contouring, also known as blontouring, is the art of using blush to sculpt your face. Apply blush slightly higher than the traditional cheekbone contour and blend it toward the temples.
This adds warmth and definition without harsh shadows. Choose muted rose or terracotta shades for a sculpted yet soft look.

10. Contouring for Natural No-Makeup Makeup
Want to look naturally defined without looking “done?”
Use subtle, skin-tone-friendly contours that are just one shade deeper than your skin. Apply them lightly under cheekbones, on the sides of the nose, and along the jaw.
Blend thoroughly using a damp sponge or brush. Pair it with sheer foundation or tinted moisturizer and soft highlight for a glowing, effortless finish.

11. Contouring for Heart-Shaped Faces
Got a wide forehead and narrow chin?
Focus on contouring the sides of the forehead and temples to balance the upper face, and add a soft contour below the cheekbones. Lightly define the chin to avoid sharpening it too much.
Highlight the center of the forehead and tops of the cheeks to add glow where needed.
Source: Pinterest
12. Chin Contour for a Snatched Profile
Want to refine your chin shape?
Use a contour product just beneath the chin to create a more defined jawline and reduce the appearance of a double chin. Blend downward toward the neck for a seamless shadow.
Pair with jawline contouring for a sharper, lifted profile.
Source: Pinterest
13. Eyelid and Brow Contouring
Yes, you can contour your eyes too!
Apply a soft contour shade into the crease of your eyelids and just below the brow bone to add definition and lift. This is especially helpful for hooded or monolid eyes.
Use a fluffy eyeshadow brush for a seamless blend.
Source: Pinterest
14. Contouring with Bronzer for a Warm Glow
Not into cool-toned contours?
Bronzer can be your shortcut to a sun-kissed sculpt. Apply bronzer along your cheekbones, jawline, and forehead edges for a softer, warmer version of traditional contouring.
Perfect for everyday wear or beachy, bronzed looks.
Source: Pinterest
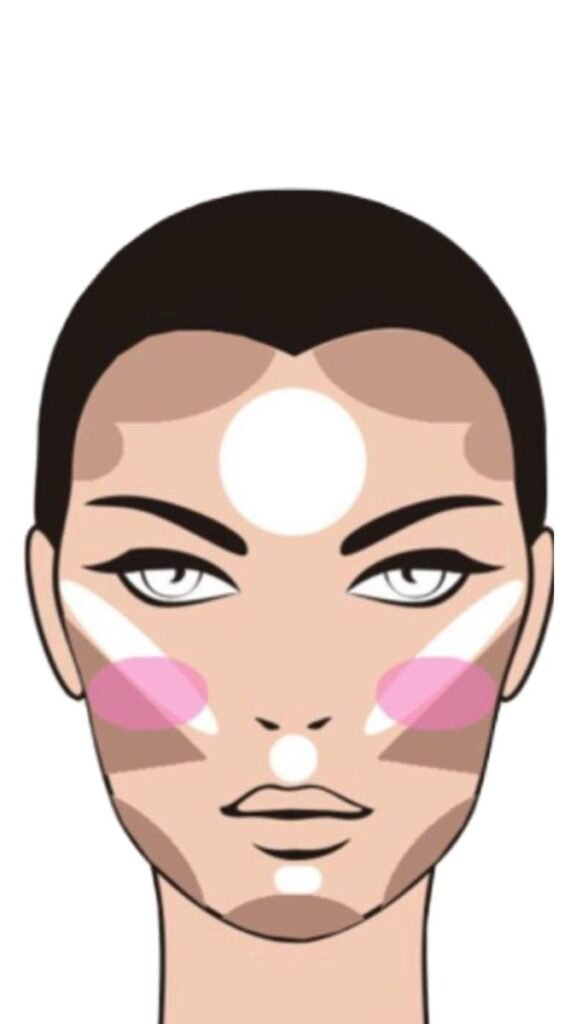
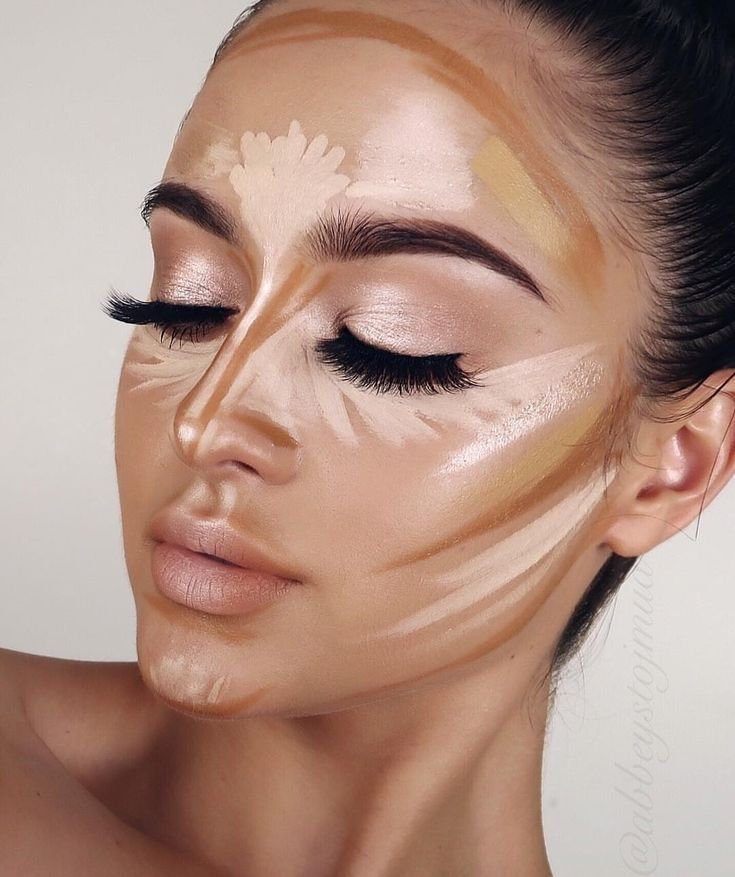
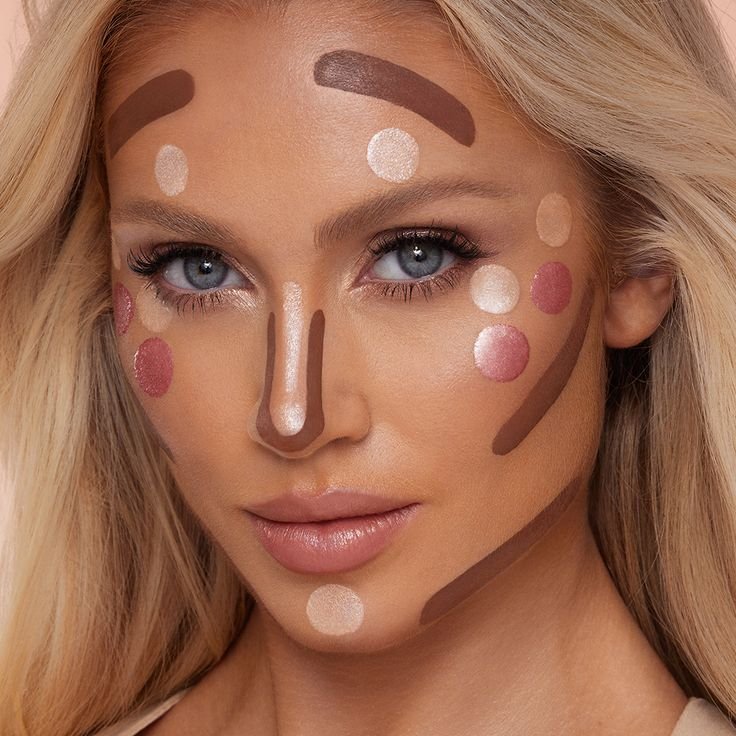
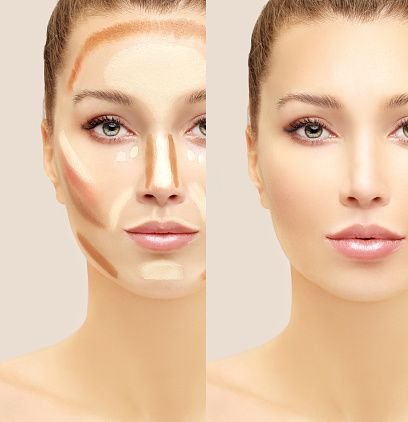
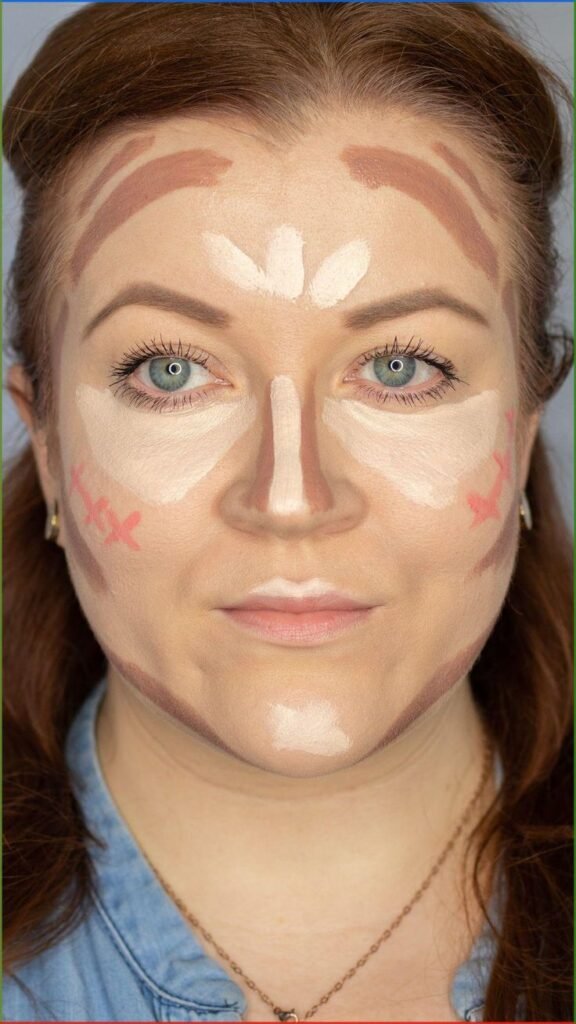
15. Contour Mapping for Beginners
Feeling lost with placement?
Contour mapping uses your natural bone structure as a guide. Identify the hollows of your cheeks, the jawline, and the temples, then mark those areas before blending.
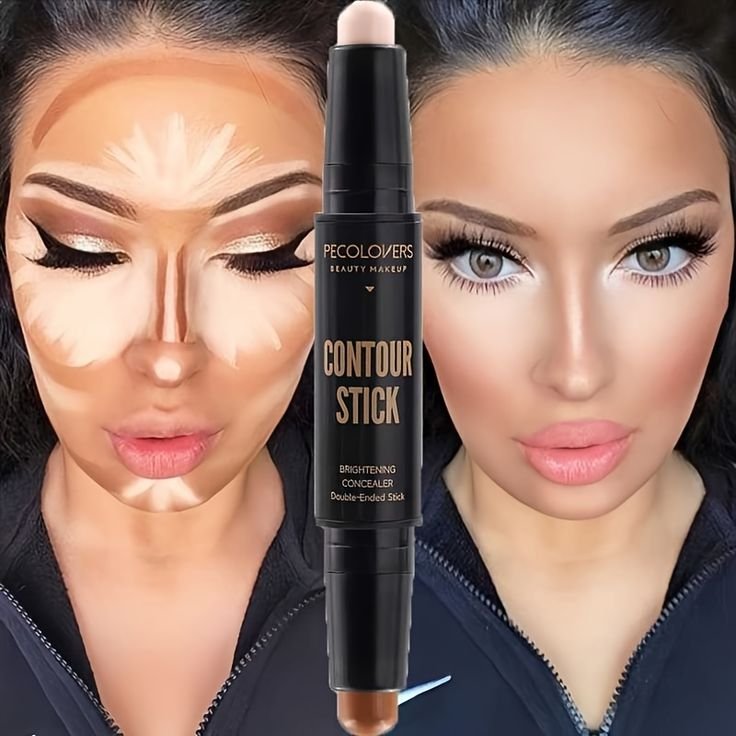
Try using cream contour sticks—they’re easy to control and great for practice.
Source: Pinterest
16. Highlight-First Technique
Want a twist on traditional contouring?
Try highlighting before contouring. Apply your concealer or brightening products first to create a lifted base, then add contour only where necessary.
This method adds brightness and allows more control over how much shadow you want to introduce.
Source: Pinterest
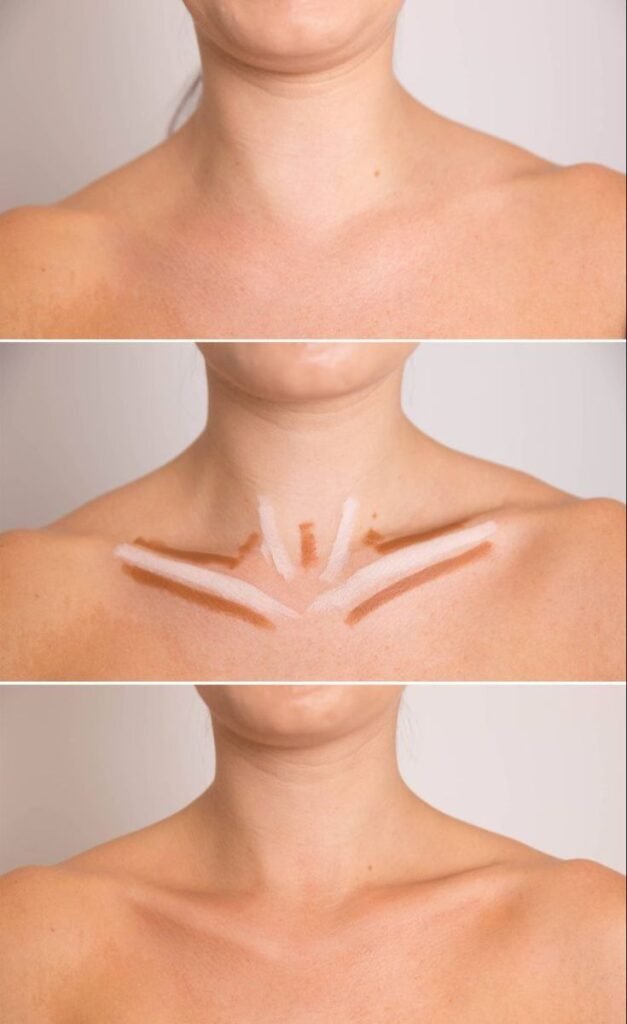
17. Body Contouring for Neck & Collarbone
Contouring isn’t just for your face.
Add subtle contour along your collarbones and shoulders to enhance definition for special occasions or off-shoulder outfits. Use a large brush and bronzer or contour powder for soft sculpting.
It photographs beautifully and elevates your full glam.
Source: Pinterest
18. Underpainting Technique
Want pro-level results?
Underpainting involves applying contour and highlight before foundation. It gives a natural sculpt that looks like it’s coming from within the skin.
Use cream products, blend well, and then lightly layer your foundation over the top. You’ll get dimension without harsh lines.
Source: Pinterest
19. Contouring for Mature Skin
Looking for age-friendly sculpting?
Avoid harsh lines and matte textures. Use creamy, lightweight products and blend softly. Focus on lifting areas like the cheekbones and jawline instead of deep shadows.
A subtle touch creates a youthful and elegant definition.
Source: Pinterest
20. Sculpting with Tinted Moisturizers
Want a quick, natural-looking contour?
Mix a deeper shade of tinted moisturizer with your regular one and apply it strategically under cheekbones, jawline, and sides of the nose. Blend well using your fingers or a damp sponge.
This is a great everyday option for light, breathable coverage with subtle structure.
Source: Pinterest
Pro Tips for Flawless Contouring
- Always start with a well-prepped base. Clean, hydrated skin makes blending easier.
- Use the right tools. Angled brushes, beauty sponges, and small blending brushes are your best friends.
- Know your face shape. Tailor your contour placement based on what works best for your unique structure.
- Less is more. Build your contour gradually—it’s easier to add more than to take it off.
- Lighting matters. Always check your makeup in natural light before heading out.
Final Thoughts: Contour Like a Pro
Contouring isn’t about masking your face—it’s about celebrating your features. Whether you’re sculpting for glam, balancing your proportions, or adding subtle depth, contouring gives you the power to express and enhance your natural beauty.
So which technique are you going to try first? Whether it’s the timeless cheekbone carve or the modern blush contour, remember: blending is key, and confidence is your best brush.
Now go ahead and sculpt your masterpiece—one swipe at a time.